Getting Started with Embroidery: A Guide
Where do we start when we want to turn our embroidery into profits? It’s something that is Googled often, our shop had to start somewhere too, and that’s why we wanted to breakdown what it takes to price your embroidery work. In the next couple of blogs coming out we will release key components that helped us turn a pricey investment into profits for our shop!
Here are some key things we will discuss in this blog. Let’s get some basic definitions down:
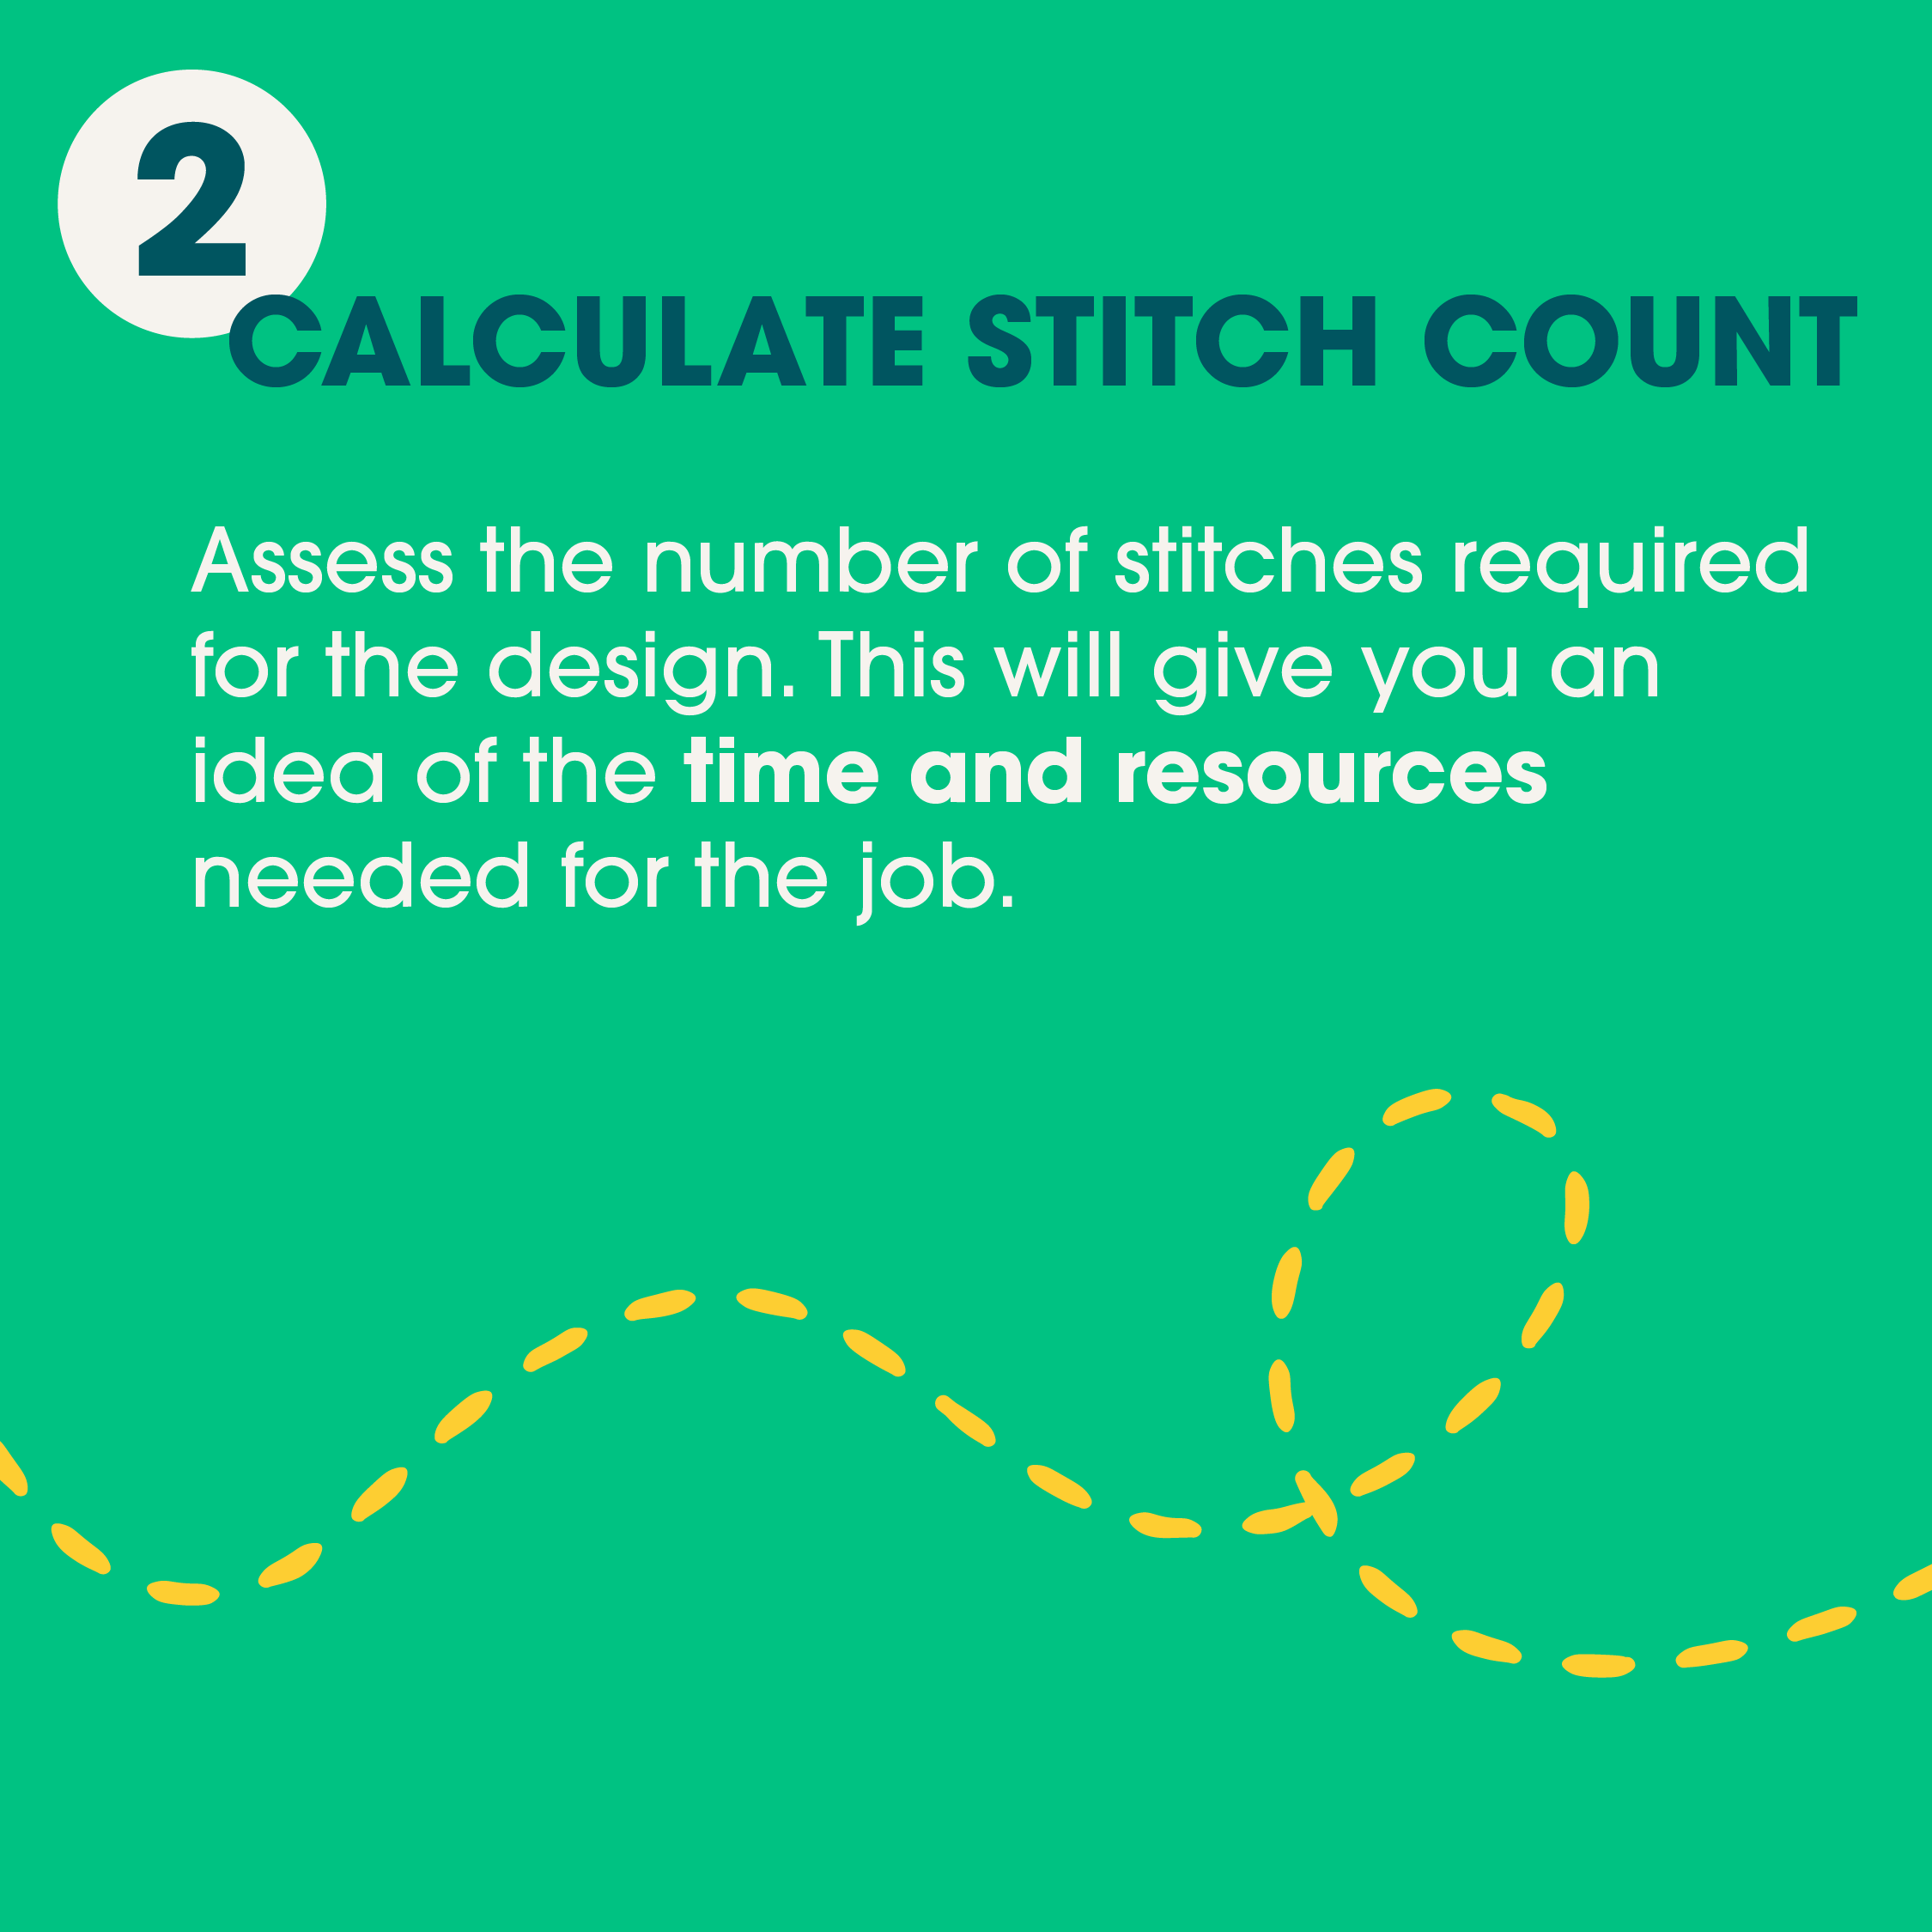
Stitch Count: The number of stitches in your design affects the time, thread usage, and cost. More stitches mean more detail but take longer to complete.
Digitizing Artwork: You can either digitize your own designs or hire a professional. DIY digitizing saves money and gives you full control but can be time-consuming and may require expensive software. Hiring a professional ensures high quality but comes at a higher cost and less personal input.
Machine Speed: The speed of your embroidery machine impacts efficiency, cost-effectiveness, and stitch quality. Faster speeds can complete projects quicker, but consistent speed is crucial for maintaining quality.
Hooping Fees: These fees cover the labor, materials, and machine usage needed to prepare the fabric for embroidery. Understanding these costs helps in pricing your services accurately.
Profit Margins: Knowing your costs for materials, labor, and machine usage is essential for determining your net profit and setting prices that ensure profitability.
By understanding these basics, you'll be well on your way to creating beautiful embroidered pieces and possibly even turning your hobby into a profitable venture.
So how do we factor in all of these components?
Let’s start with the Stitch count. In embroidery stitch count refers to the total number of stitches used to complete a design as we stated above. It is an important factor because it affects the time it takes to finish the embroidery, the amount of thread needed, and the overall cost. Higher stitch counts usually mean more detailed and intricate designs, while lower stitch counts are simpler and quicker to complete. We can estimate stitch count by using an online stitch generator. There are several of these out there and the more embroidery you do the more your estimations come extremely close to the actual. Remember, for quote purposes we just need to be in the general ballpark on our stitch count. Ideally within 100-500 stitches of your actual stitch count will get you a great estimated pricing. Over-estimating on the stitch count won’t hurt. So round up when you are estimating stitch count. For example, 5438 stitches can round up to 5500 for quote purposes.
But how do we calculate dollars to stitch count? Industry standard pricing charges anywhere from .25/1000 stitches to $1/1000 stitches. Thread can be costly so this is why it is calculated as an individual calculation based on how large and intricate the design. Now we move into digitizing your own artwork or hiring a digitizer. Each have their pros and cons. So let’s dive in.
Digitizing Your Own Artwork
Pros:
Cost-Effective: You save money by not paying a professional.
Creative Control: You have full control over the design process.
Learning Opportunity: You gain valuable skills and knowledge in digitizing.
Cons:
Time-Consuming: Learning and perfecting digitizing can take a lot of time.
Quality Issues: Without experience, the quality of the digitized design may not be as high.
Software Costs: You may need to invest in specialized software.
Hiring a Digitizer
Pros:
Professional Quality: Experienced digitizers can produce high-quality designs.
Time-Saving: You can focus on other tasks while the digitizer works on your design.
Expertise: Professionals can handle complex designs and troubleshoot issues.
Cons:
Cost: Hiring a professional can be expensive.
Less Control: You have to be very specific and sometimes there is some back and forth to get the design digitized correctly.
Turnaround Time: Depending on the digitizer’s schedule, it may take time to get your design.
Choosing between the two depends on your budget, time, and the quality you need for your embroidery project. If you don’t want to do digitizing all the time but want to be able to create your own digtized files for names, monograms, etc. there are some cheaper, user friendly versions of digitizing software out there like Embrillance that allow you to download bx font files and create your own text.
Machine speed in embroidery is important for several reasons:
Efficiency: Higher machine speeds allow for faster completion of embroidery projects, which is crucial for meeting deadlines and increasing productivity.
Cost-Effectiveness: Faster machines can reduce labor costs by completing more work in less time, making them more economical for businesses.
Quality Control: Consistent machine speed helps maintain the quality of the stitches, ensuring that the design is executed accurately without thread breaks or misalignment.
Versatility: Machines with adjustable speeds can handle a variety of materials and designs, from simple to complex, providing greater flexibility in your projects.
Thread Management: Proper machine speed helps in managing thread tension and reduces the risk of thread breakage, which can save time and resources.
Overall, machine speed plays a vital role in balancing efficiency, cost, and quality in embroidery projects. We also base our embroidery pricing off of how many garments can we complete in an hour. This flows into our calculations for our hourly rate. We can calculate this cost by taking our machine RPMs, print heads (1,2,3,etc.), stitch count, and locations into account. When put into a formula this allows us to see what our garments per hour will be, which also helps us calculate our overall hourly rate we are charging for each specific embroidery job. This gives you more control and consistency in your pricing. No more guess work, no more trying to decide if it’s too much or too little, the numbers will give you the information you need to make good business decisions. Sometimes we have room for going up and down on our pricing and calculating these factors gives us the ability to see where those margins for flexibility lie.
How to Calculate Hooping Fees
Hooping fees cover the labor and materials needed to secure the fabric in the embroidery hoop, ensuring it stays taut and properly aligned during the stitching process. These calculations are based off a hooping pricing matrix. In The PrintShop Master calculator we use industry standard pricing for hooping fees that calculates automatically for you based off locations and garment quantity. What are the hooping fees cover?
Labor Costs:
Time taken to hoop the fabric.
Skill level of the person doing the hooping.
Material Costs:
Cost of stabilizers used to support the fabric.
Cost of any additional materials like adhesives or tapes.
Machine Usage:
Wear and tear on the hooping equipment.
Depreciation of the hooping machine.
Complexity of the Design:
More complex designs may require more precise hooping, increasing the time and effort needed.
By using a pricing matrix we take care of the labor and material cost, while also factoring in the machine speed, locations, digitizing fee and embroidery heads being used to help determine our overall cost.
Copyright 2024: Embroidery Quote Calculator by The PrintShop Master. A product of Workman by Design.
Understanding Profit Margins in Embroidery
Cost:
Materials: This includes fabric, thread, stabilizers, and any additional supplies like adhesives or tapes.
Labor: The time spent on digitizing, hooping, and actual embroidery. Skilled labor may cost more.
Machine Usage: Depreciation, maintenance, and electricity costs for running embroidery machines.
Overhead: Rent, utilities, and other operational costs.
Gross Sale: Total revenue generated from selling your embroidered products before any expenses are deducted. This is calculated by multiplying the price per item by the number of items sold.
Net Profit: Net profit is what remains after all costs and expenses are subtracted from the gross sale. This includes materials, labor, machine usage, and overhead costs.
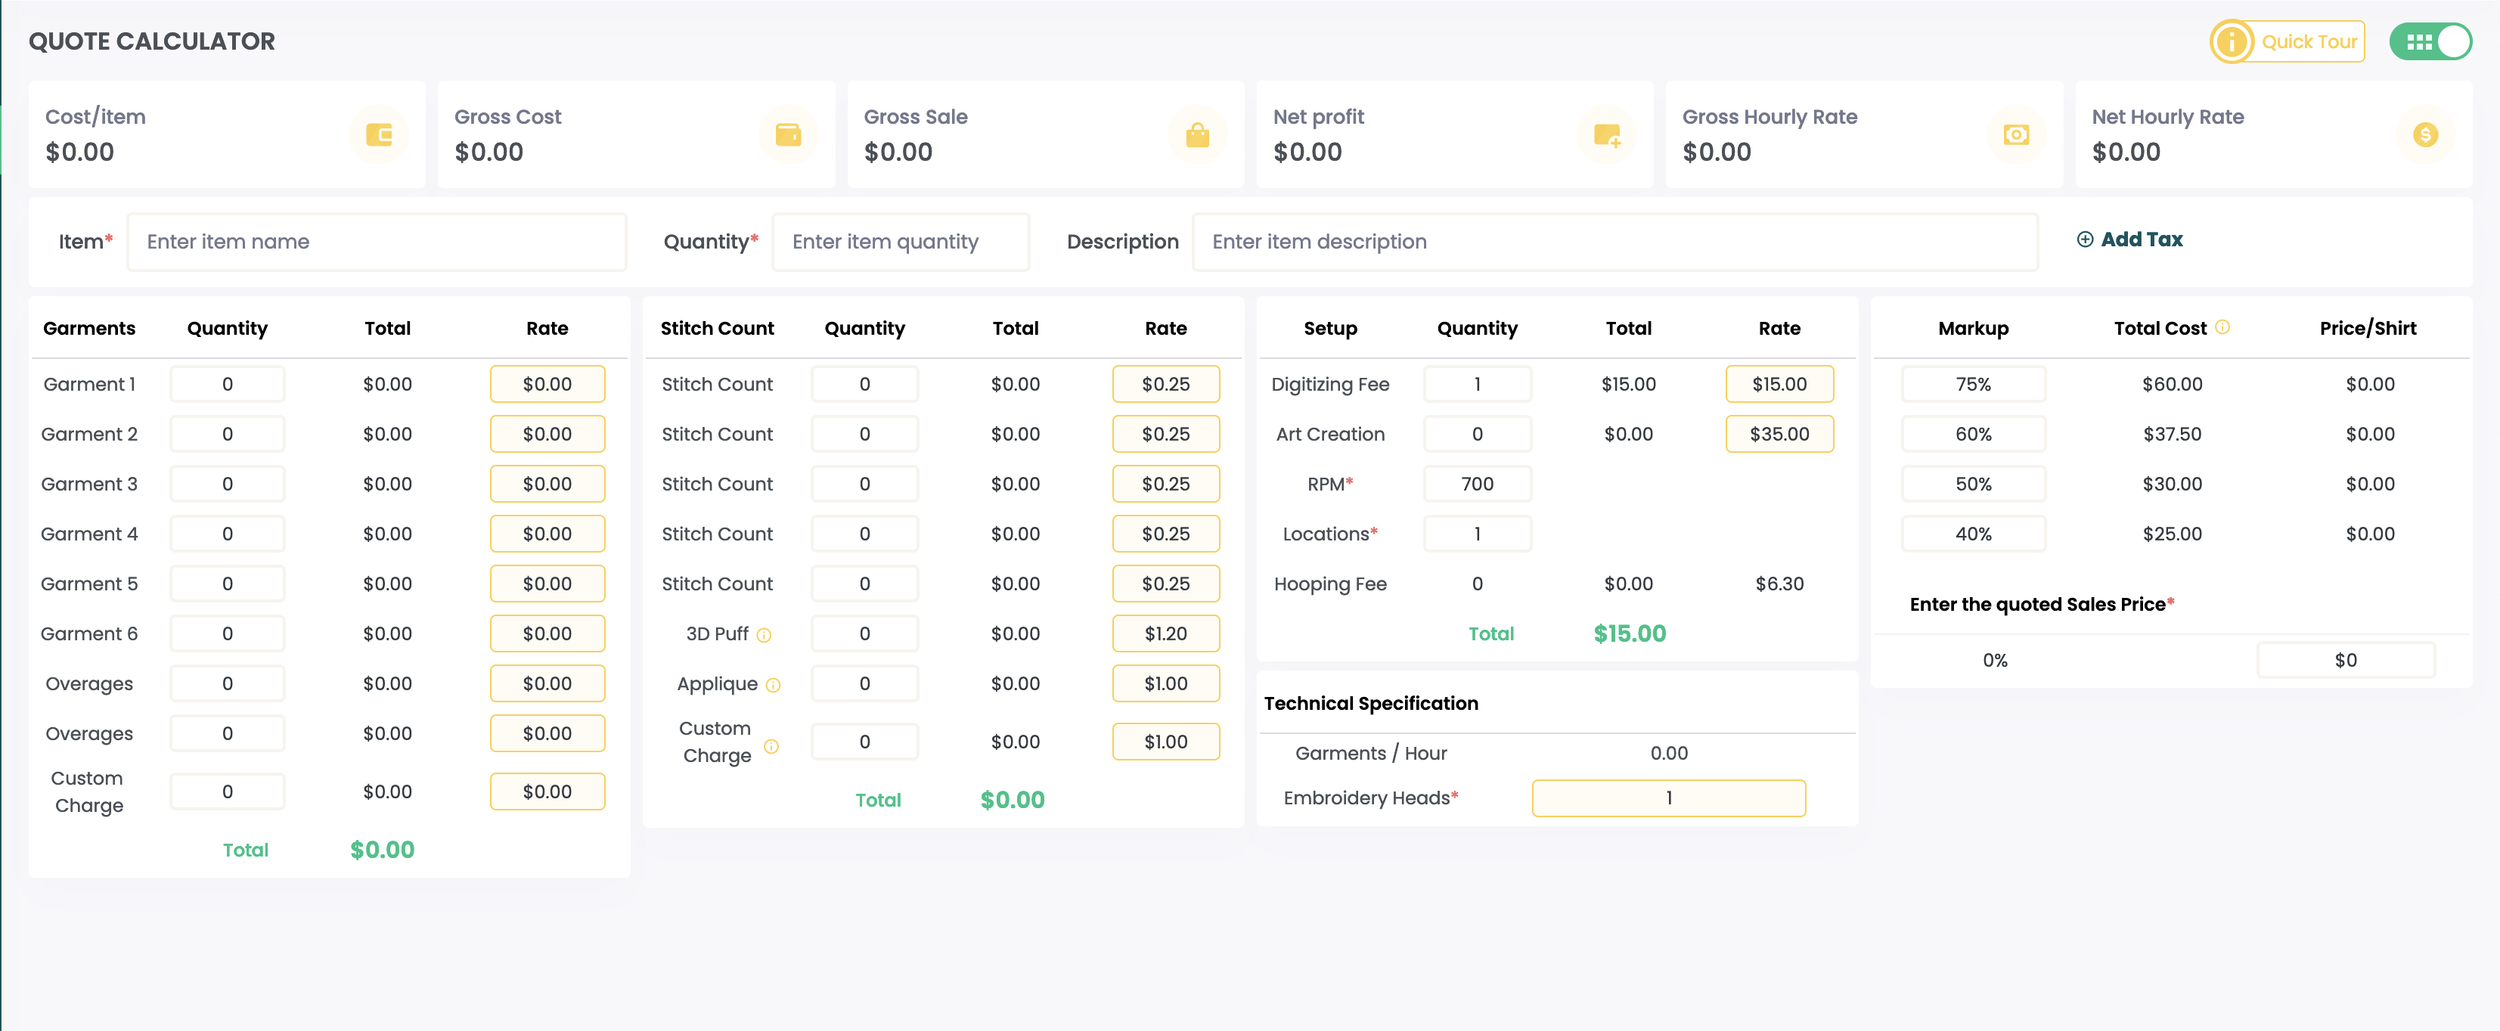
Profit Margin: Profit margin is calculated by dividing the net profit by the gross sale and multiplying by 100 to get a percentage. As you can see in the above graphic, we automatically calculate these numbers for our users to give you real-time data on each and every embroidery job. This helps you as a shop know where you can give “extra” price breaks to friends or family, but also helps you know where you stand and whether or not a job is worth doing. It gives you perspective.
Every “TOTAL” on The PrintShop Master is included in our “Mark Up” section. The user can change the mark up percentage in real time making it possible to look at your hourly rate above, see where you can have wiggle room, or better yet, see where you need to increase your profits. By charging at a 50% mark up on everything, our shop has gathered years of data to support a healthy profit margin that has allowed for significant growth in the last 3 years. This has been our bread and butter to not only pricing ourselves consistently, but allowing us to stay competitive with larger embroidery shops!
Our quote calculator can be accessed using the button below. Try our 7-day free trial and reach out to info@theprintshopmaster.com for any help your shop might need during your trial. We want shops to Master the Shop. Enjoy the Print.